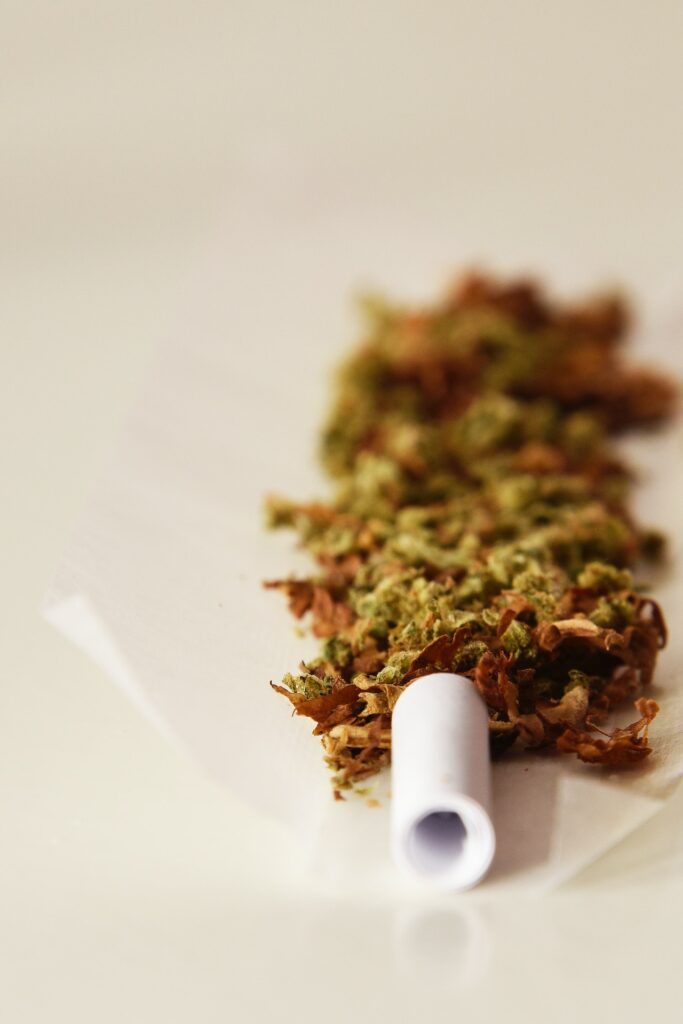
Grinding weed is a crucial step in preparing it for consumption, as it enhances the overall experience and effectiveness. Without proper grinding, the weed’s potency may not be fully realized, and it can be challenging to achieve a consistent burn.
But have you ever wondered how to grind weed without a grinder? Not everyone has a grinder readily available at all times, which might make it difficult to get your weed to the consistency you desire.
Fear not! In this article, we will explore seven simple steps that enable you to grind weed effectively, even without a grinder. By following these methods, you can ensure a satisfying and efficient smoking or vaping experience anytime, anywhere.
Why Grind Weed?
Grinding weed offers several advantages that contribute to a more enjoyable and efficient cannabis smoking experience.
Firstly, grinding cannabis helps to release the full spectrum of flavors and aromas present in the weed. When the flower buds are ground into smaller pieces, the surface area increases. This allows better exposure to heat and air, resulting in a more pronounced and enjoyable taste and smell.
Furthermore, grinding weed promotes a smoother and more even burn. Finely ground cannabis ensures that the heat is evenly distributed throughout the material, preventing uneven or “hot” spots that can lead to harsh hits or uneven burns in joints, blunts, or bowls.
Grinding weed also aids in the efficient use of cannabis. By breaking it into smaller particles, you can achieve a more consistent packing in joints, blunts, or vaporizers. This consistency allows for a more even distribution of heat and airflow, maximizing the extraction of cannabinoids and terpenes and resulting in a more potent and flavorful experience.
Grinding Weed Without a Grinder
Whether you have a grinder or not, the following steps will guide you in achieving a well-ground cannabis product for an optimal cannabis experience.
Step 1: Break Down the Buds
When grinding weed without a grinder, the first step is to break down the buds into smaller, manageable pieces. There are a couple of effective techniques you can use, primarily involving your hands or scissors.
One common method is to use your fingers. Start by taking a bud and gently applying pressure to break it apart. Using your fingers, continue to separate the larger buds into smaller, more manageable pieces.
Be careful not to grind the bud or weed too finely at this stage, as we will achieve a finer consistency later in the process.
Alternatively, you can utilize scissors to break down the buds. Take a pair of clean, sharp scissors and carefully trim any excess stems or leaves from the buds. Then, hold a bud between your fingers and use the scissors to cut it into smaller pieces. Continue this process until all the buds have been broken down.
Remember, the goal at this stage is to break the buds into smaller, manageable pieces rather than achieving fine powder or a finely ground consistency. This will make the subsequent steps easier and more effective.
Step 2: Prepare a Chopping Board and Knife
For grinding weed without a weed grinder, you will need a chopping board and a suitable knife. Choose a chopping board that is sturdy, stable, and easy to clean. Wooden or plastic boards are commonly used for this purpose. Ensure that the board is large enough to accommodate the amount of weed you plan to grind.
For the knife, it is advisable to use a sharp, non-serrated blade. A chef’s knife or a utility knife with a long, straight edge works well for breaking down the weed. Avoid using a knife with a serrated edge, as it can make the process more challenging and less efficient.
Before using, wash the chopping, cutting board, and knife, and ensure they are clean and free from any contaminants. Wash them with hot, soapy water and dry them thoroughly.
Step 3: Chop the Weed on the Chopping Board
Once you have your clean chopping board and knife ready, it’s time to chop the weed finely. Follow these techniques to achieve the desired consistency:
- Place a portion of the broken-down buds onto the chopping board. Hold the knife firmly with one hand and position the blade against the weed on the board.
- To chop the weed finely, use a rocking motion with the knife. Apply downward pressure on the blade while simultaneously moving it back and forth in a gentle rocking motion. This technique helps to break down the weed into smaller, more uniform pieces.
- Continue chopping and rocking the knife over the weed until you achieve the desired consistency. Take care not to press too hard or chop too vigorously, which may result in a powdery texture. Aim for a finely chopped consistency suitable for your preferred method of consumption.
Step 4: Use a Mortar and Pestle
If you desire a finer texture for your ground flower or weed, using such tools or a mortar and pestle can be an effective alternative method.
A mortar and pestle is a traditional grinding tool consisting of a bowl-shaped mortar and a pestle, typically made of stone, ceramic, or other sturdy materials. It is commonly used in cooking and herbal medicine for grinding and pulverizing various substances.
Here’s how to grind weed using a mortar and pestle:
- Place a small amount of the finely chopped weed into the mortar. Hold the pestle firmly and press it down onto the weed, applying gentle pressure. Begin grinding by moving the pestle in a circular motion, rotating it back and forth while pressing down.
- Continue grinding the weed in the mortar using the pestle until you reach the desired level of fineness. The repeated motion will further break down the weed, resulting in a more consistent and fine texture suitable for various consumption methods.
Take your time during this step, ensuring that all the weed is evenly ground. Remember that excessive force or speed may cause the ground weed to become too powdery, so exercise caution and grind in controlled increments.
Step 5: Blend the Weed in a Coffee Grinder
If you have access to a coffee grinder, it can serve as a convenient and efficient tool for grinding weed.
A coffee grinder is designed for grinding coffee beans into fine coffee grounds, but it can also be repurposed for grinding cannabis. The sharp blade spinning at high-speed can quickly and effectively break down the buds, resulting in a finely ground product.
Coffee grinders offer the advantage of achieving a consistent texture with minimal effort. It can handle larger quantities of weed at once, making it a suitable option when grinding larger amounts of sticky weed or wet weed for future use.
Here’s how to use a coffee grinder for grinding weed:
- Ensure that your coffee grinder is clean and free from any coffee residue. This will help prevent any unwanted flavors or smells from transferring to the weed.
- Place a portion of the broken-down weed into the grinder, ensuring not to overload it. It’s best to grind small batches at a time to maintain control and achieve even consistency.
- Secure the lid of the coffee grinder tightly and hold the base firmly. Start by pulsing the grinder in short bursts rather than running it continuously. This technique helps prevent the weed from becoming overly powdered and gives you more control over the grind.
- Check the progress periodically and continue grinding until you achieve the desired consistency. If needed, you can shake the grinder gently or stir the weed with a clean utensil to ensure even grinding.
It’s important to be cautious and not overdo the cannabis grinding process, as excessive heat and friction can potentially degrade the cannabinoids and terpenes in the weed. To avoid this, give the coffee grinder breaks between grinding sessions to prevent overheating.
Step 6: Utilize a Coin and Container Method
The coin and container method provides a simple and effective way how to grind weed without a grinder too.
This method utilizes the principles of friction and agitation to grind the weed. By placing the dried weed and a clean coin in a container and shaking it vigorously, the small coin acts as a grinding element that breaks down the buds into smaller pieces.
Here’s how you can utilize this method:
- Start by placing a portion of the broken-down weed into a clean and sturdy container. A pill bottle, film canister, or small glass jar with a tight-fitting lid works well for this method. Ensure that the container is clean and free from any contaminants.
- Add a clean coin, such as a quarter or a nickel, into the container with the weed. The coin will serve as the grinding element that helps break down the buds when shaken.
- Close the lid of the container tightly to prevent any spillage during the shaking process.
- Hold the container firmly and vigorously shake it back and forth, up and down, or in a circular motion. The coin inside the container will move around and create friction against the weed, gradually grinding it into smaller pieces.
- Continue shaking the container for a few minutes until you achieve the desired grind level. The longer you shake, the finer the consistency will become.
- Open the container and check the progress. If needed, you can adjust the grind by shaking for a shorter or longer duration. If the weed is not ground to your satisfaction, you can repeat the process or employ other methods to break it down further.
Step 7: Improvise with Household Items
When you find yourself without a grinder, there are various household items you can use as creative alternatives to grinding weed effectively. Here are a couple of options:
Cheese grater or vegetable grater:
If you have a cheese grater or vegetable grater with small to medium-sized holes, it can be a useful tool for grinding weed.
Take a bud and gently rub it against the cheese grater’s surface, moving it up and down or in a circular motion. The small holes will break down the weed into smaller pieces.
Be cautious not to apply too much pressure. A cheese grater can be quite sharp when new, so you should exercise caution to avoid grating your fingers.
Glass jar, shot glass, or empty pill bottle:
If you don’t have a mortar and pestle at home, you could use a bowl instead of the mortar and a glass jar, a shot glass, or an empty pill bottle instead of the pestle.
Place a portion of the broken-down cannabis in a bowl or a flat, clean surface. Hold the pill bottle or glass jar firmly and press it down onto the weed, grinding it by applying firm pressure and using a twisting motion. This method allows you to break down the cannabis into small pieces manually.
Remember to exercise caution when using these improvised methods, ensuring cleanliness, proper storage, and safety, especially when using a cheese grater, shot glass, or pill bottle. Use gentle pressure to avoid accidents or unwanted powdering of the weed. Adjust the technique to achieve the desired consistency.
By thinking creatively and utilizing common household items like cheese graters, vegetable graters, pestles, or glass jars, you can successfully show how to grind cannabis without a grinder, allowing you to enjoy your cannabis experience even when traditional tools to grind cannabis are not available.
Conclusion
Now that you’ve learned how to grind weed without a grinder, you can hopefully enjoy your weed as you please anywhere you are. The seven simple steps we outlined can definitely make things much easier for you if you don’t have a weed grinder readily available.
We encourage you to explore the techniques presented in this article and choose the method that aligns with your preferences and available resources. Whether you prefer a finer grind or a coarser texture, there are various options to suit your needs when you learn how to grind weed without a grinder.